What I Would Buy for a First Chocolate Batch
The equipment list changes with the job. Melting bought chocolate for a few moulded pieces needs a heatproof bowl and an accurate thermometer. Starting with cocoa nibs means making the chocolate itself, and that adds a grinder that ordinary kitchen tools cannot replace.
I would decide which batch I want to make before buying a kit. A mould, a marble slab and a tempering machine can look like essentials, but each solves a different problem.
Start with the chocolate you already have
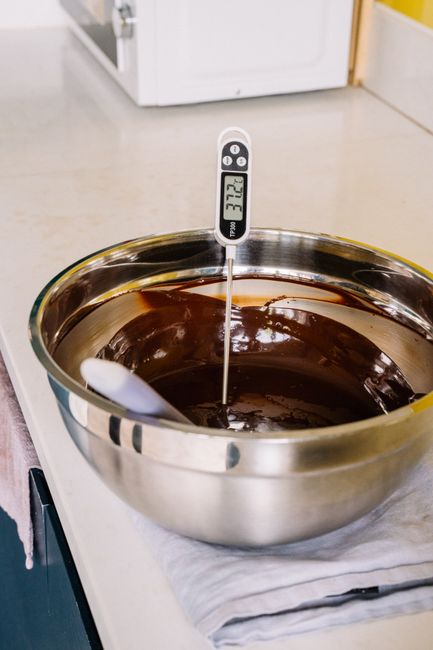
For a first batch made from finished chocolate, use a heatproof bowl, a digital probe thermometer and baking paper. You can temper by seeding without a slab or machine. The thermometer lets you check the chocolate as it heats and cools, instead of judging the process by appearance alone.
If you want a shaped bar or bonbon, add a mould. A polycarbonate mould can give the glossy surface that silicone cannot produce. For a simple trial, baking paper lets you work without one. Buy the mould for the shape and finish you want, rather than treating it as a requirement for learning to temper.
What changes when you start with nibs?
Roasted cocoa nibs let you skip roasting, cracking and separating the shells from whole beans. You still need to refine the nibs with the other ingredients and then temper the finished chocolate. A nib batch therefore asks for a melanger, a thermometer, bowls and a spatula. Cocoa butter and sugar belong on the ingredient list, not the equipment list.
The melanger is the main purchase to consider. Its stone rollers grind the nibs and other ingredients for many hours until the chocolate feels smooth. A food processor can make a paste, but it does not grind it fine enough to remove the gritty feel. Before buying a melanger, check how much chocolate it holds. Its batch size will shape the amount of ingredients you prepare.
If you start with whole beans
Whole beans add roasting and shell removal before the nibs reach the melanger. A domestic oven and baking trays can handle a small roast. You can crack the roasted beans with a rolling pin, then separate the light shell from the nibs with a hairdryer and two bowls. It is a slow and messy way to do the job, but it lets you try the process before buying a dedicated winnower.
Keep the oven, trays, rolling pin and bowls in the first plan if you already have them. The specialised purchase is still the grinder. After refining, the chocolate needs tempering and, if you want shaped pieces, a mould. A tempering machine can reduce the work when you make chocolate regularly, but seeding remains a way to do it by hand with a thermometer.
Make the first equipment decision
Choose the batch first. For bought chocolate, start with a bowl, thermometer and baking paper, adding a mould when its shape or surface matters. For nibs or beans, decide whether the cost and capacity of a melanger suit the batches you want to make. If they do, record the roast, refining time, temperature and texture as you work. Those notes will give you something concrete to change for the next batch.